This post may contain affiliate links.

Up your party appetizer game with homemade crostini
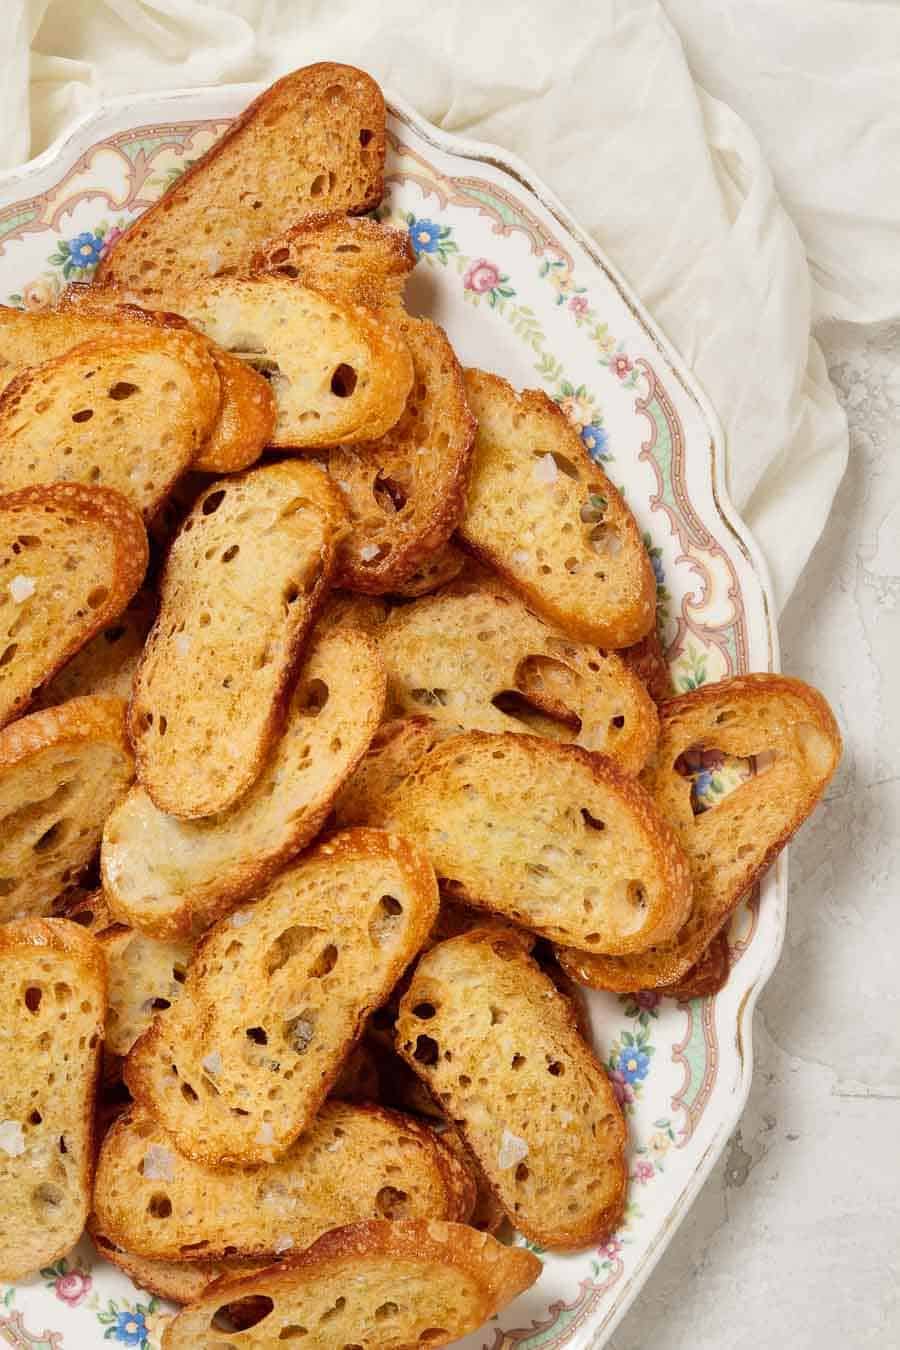
Learning How to Make Crostini at home is one of the easiest things you can do to level up as a host. Sliced bread is brushed with olive oil, then toasted until golden. Pile on the toppings, from radishes and butter to whipped ricotta cheese, and serve!
The step-by-step instructions and photos in this crostini recipe are all easy to follow and you don’t need any special equipment. Crostini is delightfully crunchy but will never break your teeth when cooked properly. And with just the right amount of olive oil and salt, they’re complete perfection!
What is crostini?
Crostini, meaning “little toasts” in Italian, is toasted or grilled pieces of sliced bread (like a baguette or a long artisan loaf). The bread pieces are brushed with oil and seasoned with salt and/or pepper, then served with toppings.
These small toasts act as a sturdy base for creamy spreads and toppings, like mushrooms and goat cheese and garlic herb feta spread. You can also plate them next to a creamy dip for dipping, on a meat and cheese board, or anywhere else crusty bread would be welcome.
What bread is crostini made from?
You can make crostini from almost any type of bread, but a type that’s elongated, like a baguette, is best. The better quality bread you choose, the better your crostini will taste.
The bread doesn’t have to be fresh, either. One or two-day-old bread works just as well and is also a great way to avoid food waste.
Ingredients needed
You only need three ingredients to make your own crostini:
Baguette
A French baguette is my bread of choice. This long loaf of bread has the best qualities for crostini: soft on the inside and crusty on the outside, and very easy to slice into small rounds.

Olive oil
This is a crucial ingredient. Olive oil is brushed onto the sliced bread, helping each piece become golden brown and crunchy in the oven. In other words, it creates a firm seal that prevents your crostini from becoming soggy when you add moist toppings.
Use good quality olive oil if you can. You’ll know your olive oil is fresh and high quality if it:
- Is bottled in a dark-colored bottle.
- Has a subtle fruity flavor and some bitter characteristics.
Flake salt
Just a pinch of flake salt is sprinkled on the finished crostini for flavor. Feel free to skip this if you plan on adding salty toppings.
How to make crostini
These step-by-step instructions and photos will help you learn how to make toasted baguette slices with ease:

Step 1: Thinly slice the baguette into ¼-inch slices. Try to keep the slices the same thickness to help them cook evenly.
Tip: For more surface area and room for toppings, slice the baguette on a bias.

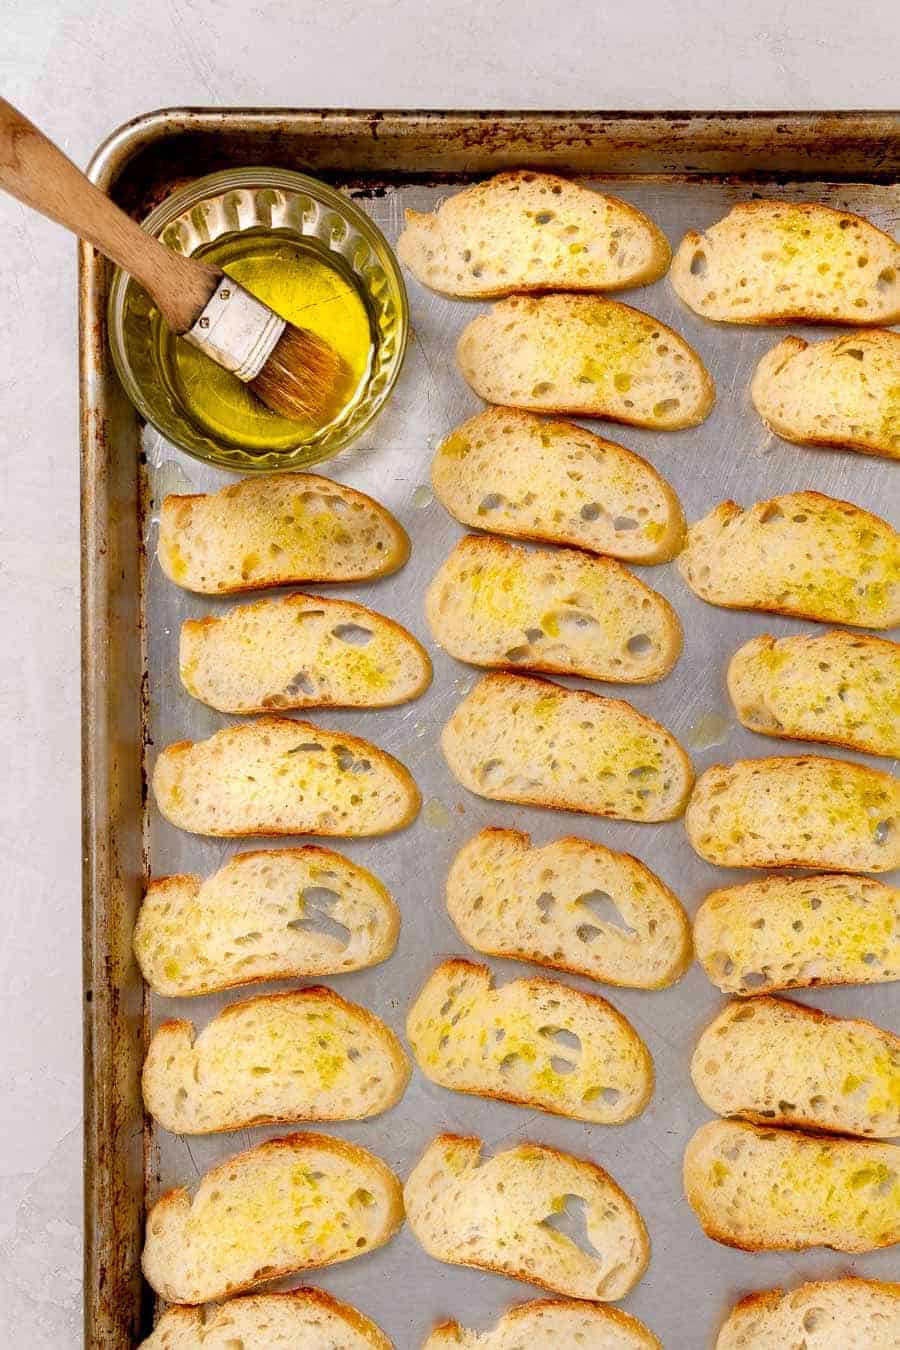
Step 2: Place the baguette slices on your baking sheets. Brush a thin layer of olive oil on both sides of each piece.

Step 3: Bake until all of the bread pieces are golden.
Season the crostini with flake salt, then serve with your favorite toppings or dips. Enjoy!
Grilling instructions
Fire up the grill! Crostini appetizers are perfect for summer, too. To grill the crostini, lay the sliced and oiled bread on a medium-high grill or grill pan until lightly charred and toasted.
Ways to use crostini
The options to serve crostini are endless. They’re great with flavorful toppings, on a meat and cheese board, or dunked into creamy appetizers. These tasty ideas should help get you started:
Topping ideas
You can top crostini with so many delicious pairings! These are a few of my favorites:
- Tomato Basil Bruschetta
- Brie and honey
- Homemade pesto and shaved parmesan
- Salmon and cream cheese
- Olive tapenade
- Buratta and herbs
- Red, green, or fruit salsa
- Smoked Salmon Dip
- Sliced pears and goat cheese

Frequently asked questions
What’s the difference between crostini and bruschetta?
Bruschetta is a refreshing and flavor-packed mix of tomatoes and basil dressed in balsamic, olive oil, garlic, salt, and pepper. This mix is scooped and served on top of crostini.
The term “bruschetta” actually only refers to the tomato mixture and not the bread. Even though the two are a perfect pairing, bruschetta and crostini are two entirely different things.
How do you know when crostini is done?
You’ll know the crostini is done toasting when they’re beautifully golden and feel slightly crisp.
Pro Tip!
- These crostini will last for a week after being made!
- When you're shopping for the week, grab a baguette and make a batch for Friday get-togethers to save time!
Is crostini supposed to be hard?
No, crostinis aren’t supposed to be hard. The edges should feel crisp while the middle remains slightly soft.
For a crisp and firm crostini, follow the recipe instructions as normal (350ºF for 20 minutes). If you like them softer, bake them at 350ºF for 10 to 15 minutes.
What equipment do you need?
A serrated knife is your most important tool - it makes cutting bread so much easier! Don’t press down too hard as you slice. Let the teeth of the knife do their job!
Other than a knife, you’ll also need two baking sheets to bake the crostini. A pastry brush can make distributing the oil on the crostini easier, but it isn’t a must-have tool.
How to make crostini ahead of time
You can make crostini up to 1 week in advance. This is great because you can make a batch and save yourself time when prepping the party appetizers for your next get-together.
Storing and freezing instructions
To store, keep the crostini in an airtight container or ziplock bag at room temperature for up to 1 week.
You can freeze the unbaked or baked crostini, too. Store them in a freezer-safe container or bag for up to 3 months. Bake as normal from frozen, or warm the already baked crostini for a few minutes in a 350ºF oven.
Recipe

How to Make Crostini for Party Appetizers
Ingredients
- 1 baguette about 10 ounces
- ¼ cup olive oil
- ½ teaspoon flake salt
Instructions
- Preheat oven to 350 degrees.
- Thinly slice the baguette, about a ¼-inch thick, on a slight bias.
- Evenly place on two baking sheets and lightly brush both sides with olive oil.
- Bake until golden, about 20 minutes.
- Season with salt and allow to cool before topping or storing.
- Enjoy these crispy crostini with your favorite toppings!


Amie Novosel says
Perfect time saver
Michelle Weiner says
Thanks Amie!